I call it, a "Corner Box" because the changes are made when folding the corners. Here is how to make a "Corner Box."
1. Start out with a square piece of card stock. For this tutorial, I used 12 x 12 inches.
2. Score it the same measurements on both the right and left side of the paper. For my example, I scored at the 2 1/2 and 9 1/2 inch marks. The closer you score to the edge of the paper, the shorter the sides, but larger the box. If you want a square box, made from 12 x 12 inch paper score at the 4 and 8 inch marks.

 3. Rotate the Card Stock and score at the same measurements on the other edge of the card stock. Your score lines will intersect.
 4. Next, score on the diagonal from the point the lines intersect to the corners. Do this on all for corners. I have always had a hard time trying to score on the diagonal, so here is how I fixed my problem. I took a stiff piece of cardboard and lined it up with the intersection point and the corner. I traced next to it with my bone folder....whew, I got a perfect score mark.

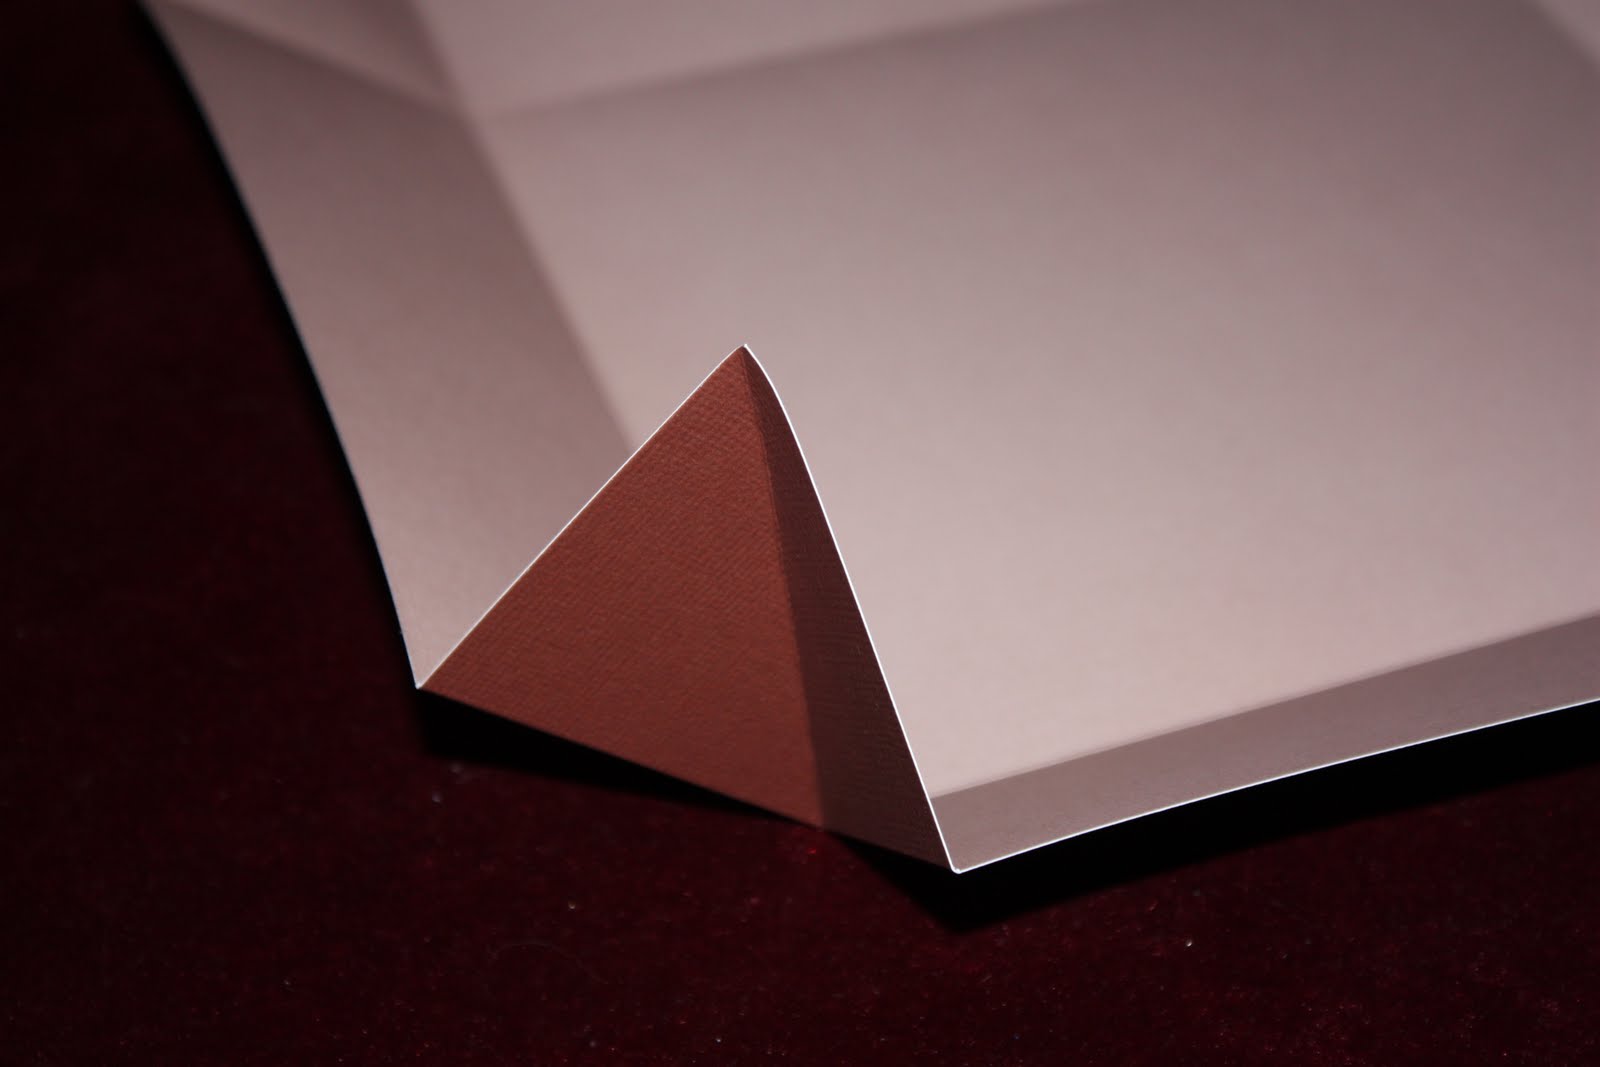
5. Fold the straight score lines to begin to form the box.
6. Gently fold your diagonal score lines.
7. Here is the fun part...you can fold your points either inside or outside. This gives you the two totally different shapes.
8. For this box, I decided to fold the points outward. I added a glue dot on each of the corners at the score lines. This will add stability and helps you complete the next step. 
9. I next punched holes into each of the outward points and tied a ribbon to hold it secure. 10. You now are free to embellish and decorate as you like. The box reminds me of one of those fabric baskets you can find at speciality stores.
I chose the measurements I did for this box because I figured out that the My Acrylix Stamp Sets would display perfectly for my Open House. By the way, both the stamped image and the patterned paper are from the new CTMH Idea Book.
Here is another "Corner Box" I made only this time, I folded the corners inward. This works best with the score mark measurements made to make a square box. The points will meet in the center.
I punched holes in the four corners like the outward point box. When I brought the points to the center, I added a few glue dots to hold the box together, threaded ribbon through the holes and tied the bow. With the Cherry paper and stamps (also from the new Idea Book), the box was perfect to hold the napkins at the Open House.
There are so many possible uses for these "Corner Boxes." What can you think to do with them? For Now, Happy Crafting!
1 comment:
Thank you so much for this, how lovely, can't wait to give it a go.
Post a Comment